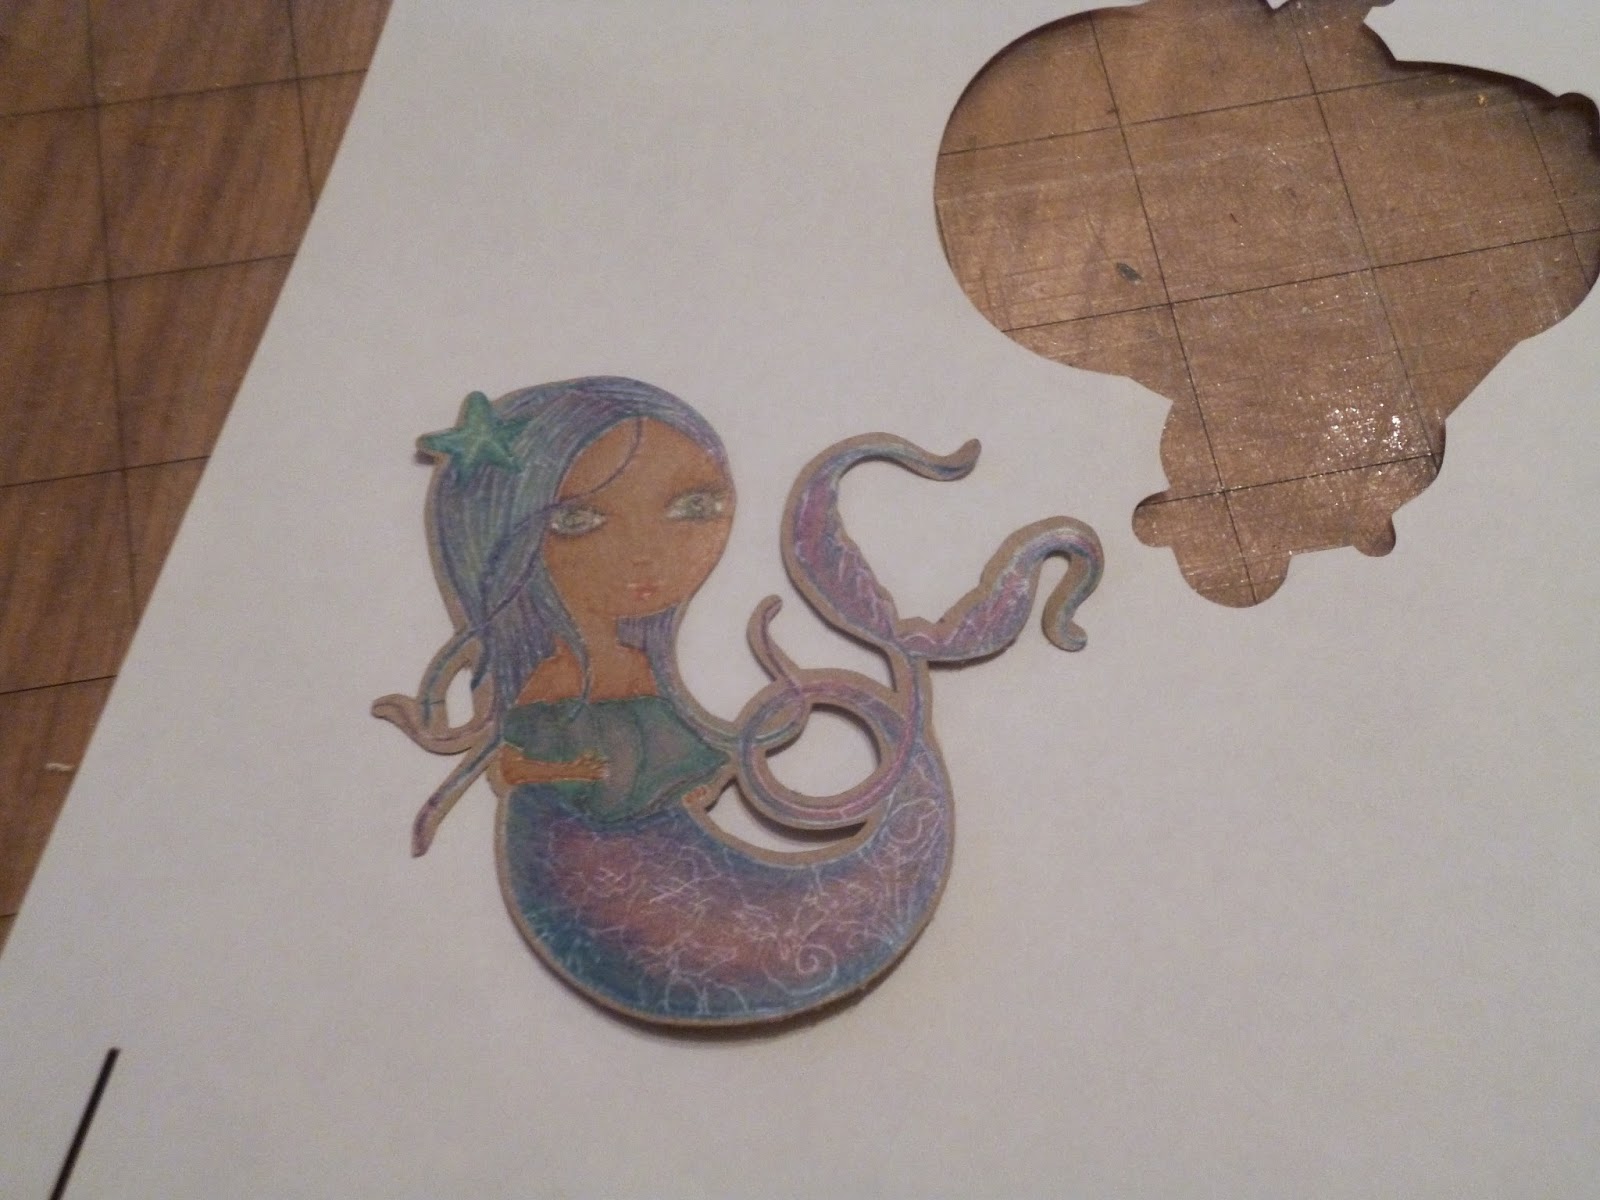
Friday 27 March 2015

Jacinta Sitting

Jacinta Sitting from Make it Crafty
This is a digistamp from Make it Crafty, called Jacinta Sitting. I have only dicovered these stamps quite recently.  I love the manga style.  It's perfect for anyone, but especially great for teens and tweens who are always difficult to make for!

I've coloured her with Copics as follows :

Skin   E51 E00 E21 E11 E04 R20
Hair  E43 E53 E57
Jeans B93 B95 B45 B97
Other R27 R29 E18

The flowers are Stampin Up stamped in Midnight Muse, Pear Pizzazz and Strawberry Slush.  The sentiment is also from SU.  I made the background paper by swiping ink (Midnight Muse mixed with a little water) across ordinary white cardstock with a paintbrush.  You can see how to make DIY enamel dots in my post below!

I am submitting this card to the Make it Crafty Design Team Call.  Fingers Crossed!

http://www.makeitcrafty.com/store-blog/news/new-team-design-team-call


Fairy Wishes...DIY Enamel Dots..


This is Tilly from Saturated Canary coloured with my Spectrum Noirs.  I used :

Skin  FS2, 3, 9 TN3 CR6
Hair  HB2 TB1, 2, 3
Clothes  BP1, 2, 4 LV2 HB1, 2, 3
Pencils : 72, 79
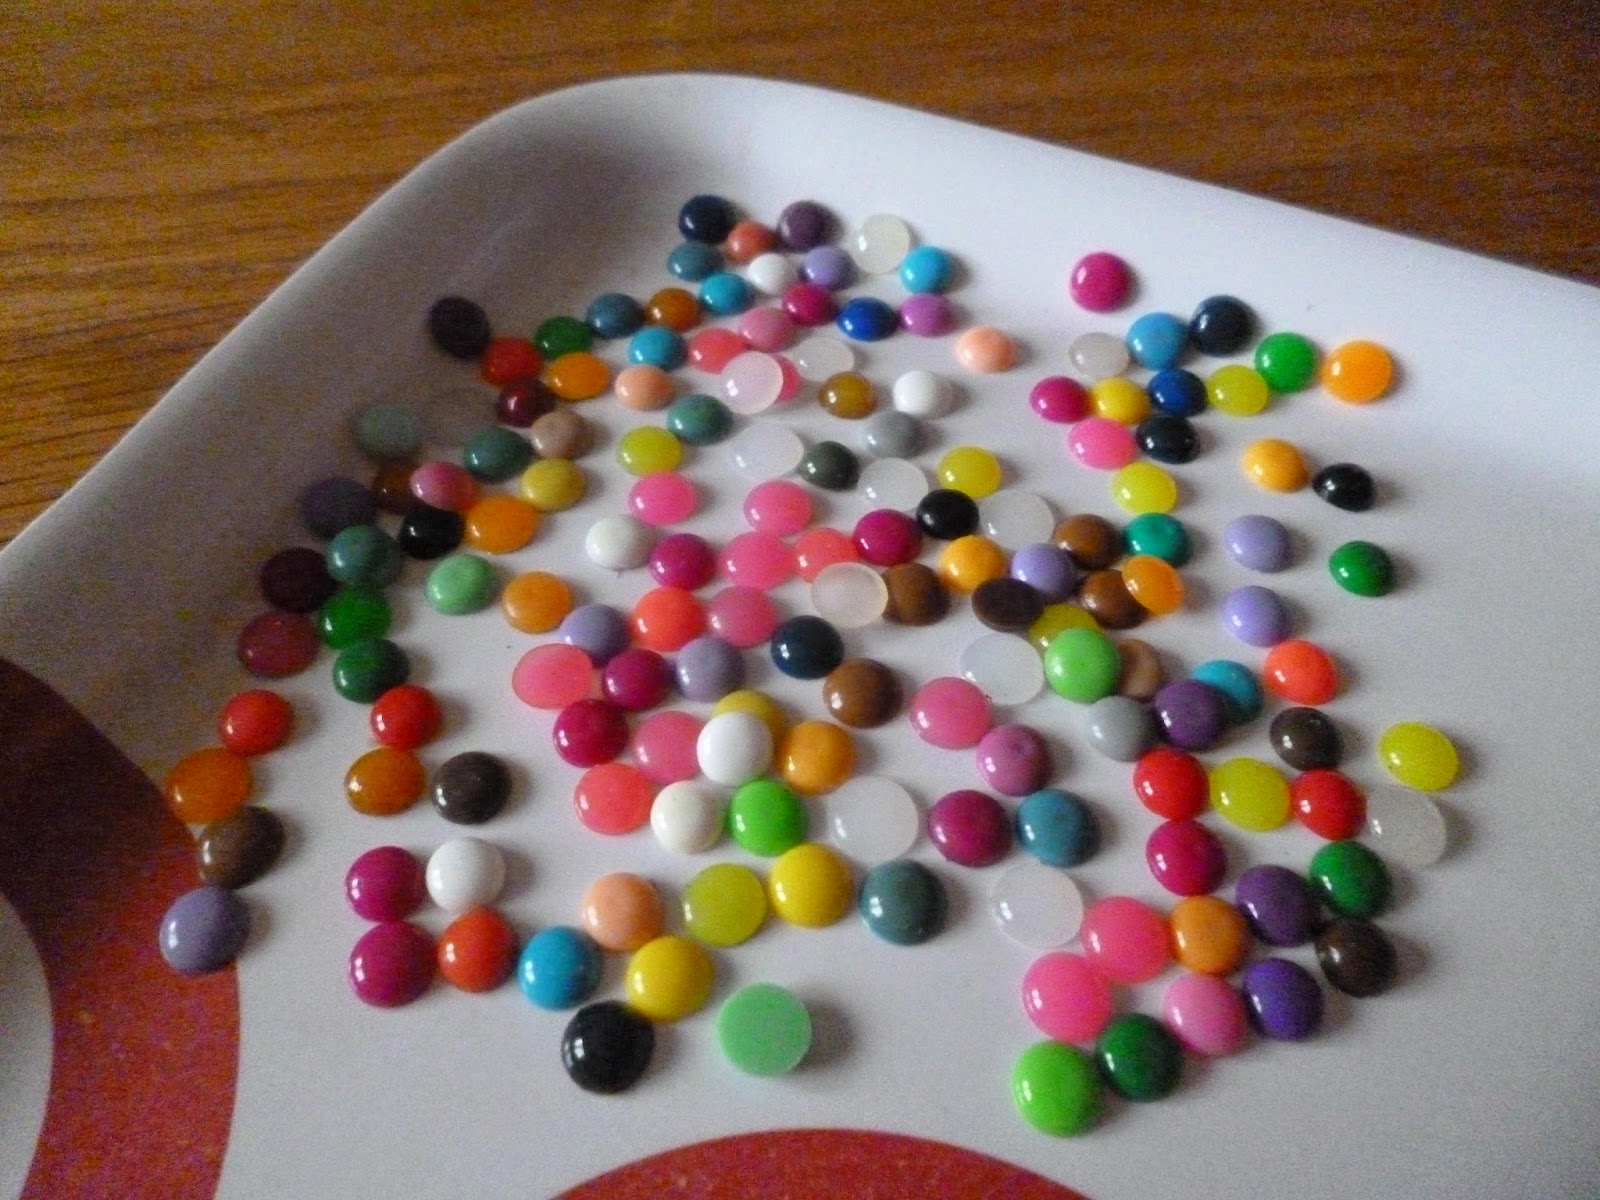
Homemade Enamel Dots
The enamel dots are homemade using melted beads. I finally managed to make my own after several failed attempts. There are lots of youtube videos showing the technique, but I found I needed a lot of experimentation to get it right.  Here's how I did it :

I'm in the UK and Hama beads did not work.  The only beads that work are Perler beads,  you need to get the actual branded version.  They are not widely avaiable in the UK but the good news is you can get them on Amazon.  I bought a mixed bag of 1000 beads for £2.69 (free P&P).  They took about 2 weeks to arrive from the USA, but I've ordered some more to play with!  The Hobbycraft own brand (which didn't work) cost £2.
Perler beads for £2.69 on Amazon
You will need to use a baking tray or your grill tray lined with a silicone mat.  I tried baking paper (greaseproof) and tin foil which both stuck to the beads.  I also had a lots of beads with dimples in until I tried the craft mat.
Line your beads with the holes face up.
Put in a preheated oven at 190C for 20 minutes, turn your tray around after 10 minutes. The process takes 20 minutes, turning up your oven to high causes your beads to blacken. Don't leave your beads in much longer after twenty minutes, they won't melt anymore than they have already.  If your beads still have dimples after twenty minutes, try another batch at a slightly higher temperature.
Finished beads

Please be aware that Perler do not recommend that you melt their beads in the oven.  Please use common sense and also make sure your kitchen is well ventilated.  There may be an unpleasant smell.


Thursday 19 March 2015

Hazel

Spectrum Noirs 

Wee Stamps Hazel - Easel Card.


I am not sure if this little Wee Stamp is called Hazel or not, but it's what I call her!  I can't wait until Wee stamps is back selling digis again, I really miss them :(

I have coloured her with Spectrum Noir Pens as follows:
Skin FS1 FS3 TN2 TN3 PP2
Hair OR1 OR2 TN5 TN9
Dress, Tights, Shoes & Hat BT1 BT3 BT9 CR11 DR7
Other BG1 BG4 BG5 GB6 GB8 GB10

The papers are DoCrafts 'Sew and Sew' from last year.  Gotta love those Goodie Bags!


Just a Quickie..


Two little stampin up cards I made for relatives, sorry about the photography (again).  I just took some quick pics before I sent them :)  I am totally unorganized at the moment so I can't remember the names of the products I used!  


Friday 6 March 2015

Using Silhouette to cut stamped images. No pixscan mat required.

I made this up as I went along, but it works.  
I have seen other methods that achieve the same result, but I wanted to be able to save my cutting file and use it again.  

First of all I stamped and coloured my chosen image in one block colour.  This will make it easier to trace in the Silhouette.

I have scanned it into my computer and created an A4 .jpg with my stamp in the centre.

Now the fun part with the Silhouette.  First you need to set Registration marks on your document. Choose "Type 1 Cameo Portrait".

Set Registration Marks

Next, open the trace window and 'select trace area' to draw a box around your stamp.  You need to end up with your image showing as solid yellow.  You can achieve this by sliding the 'high pass filter' arrow up or down the scale. Once your image is filled in, select "Trace".  You should end up with the outline of your stamp in red.  You can now discard your scanned .jpeg image, you no longer need it.


Trace Image

The next step is to offset your outline.  I always like to have a border around my images, it makes them 'pop'!   I have selected an offset of 1mm, and changed the outline colour to blue. The blue line will be the one used to cut my hand stamped image. I offset again and colour this line green.  You now have three outlines.

Change line colour ready for the next step.

Print your document, it will be blank apart from the registration marks.  I printed off a few of these on cheap copier paper for later use.

My first cut is a test cut to check I have the right size, so I cut the outline in red.  You can choose which line to cut in 'cut settings > advanced settings'.  I slid my stamped image underneath to check, and it fits!  

First test cut

Now I cut my template on another piece of my printed paper, this time using the green line.  This will give me a 'window'.  I didn't want to have to cut over the same line twice, which is why I have made my window bigger.  I have removed some of the extra bits, so they don't get caught on the second cut. 
 
Ready to cut your stamped image

Now I am ready to cut my coloured stamp. I position it on the mat, making sure it's stuck firmly.  I can then place my window on top, making sure it lines up nicely.  Then put it through the Silhouette, cutting the blue line only.

Cut out image - no scissors required!


Just remember to change your blade settings for the copier paper, otherwise it gets a bit chewed up! 

I hope this method helps some-one.  There may seem a lot of steps, but it's quick to do.


Tuesday 3 March 2015

Fairy Wryn

Well, today I'm posting a card I made for my niece last year.  I just found the photo whilst looking for something else!  I was really pleased with this.  I made it with freebie papers from a magazine, the stamp is a digi from Tiddly Inks - I love colouring these :) 

I've had no time for hobbies this week, all of us have had the flu.  (yuk) Another reason for me posting an oldie but goodie...
Fairy Wryn